Once Alien Isolation got announced a few months ago, I immediately went back and rewatched the 1970s Ridley Scott classic movie “Alienâ€. No AlienS, no Alien 3, no Alien 4. The plain old Alien! And it still holds up as one of the scariest sci-fi movies ever, dealing with the struggle of one women versus one alien.
With the blockbuster game, Alien Isolation, by Sega and The Creative Assembly, that very spirit of one versus one is back big time. Set 15 years after the events of Alien you play Amanda Ripley, the daughter of famous alien hunter Ellen Ripler from the movie. And while it’s set in probably the most beautiful graphics out there right now, it mimics the 1970s wonderfully:
It’s all about cassette decks, monochrome monitors, and wonderful sci-fi furniture art of that decade.
However, you need a fairly powerful system to run Alien Isolation but – lucky you – we’ve played the game over the course of the past couple of days and found ways to improve the performance of the game and even unlock some hidden features to make it run significantly faster on slower PCs. Here’s how:
#1 – Basic PCs and Laptops
Before you start tweaking performance settings for Alien: Isolation, I recommend that you follow the 9 essential steps to boost your PC or laptop speed that I published a while ago. This covers the basic steps to get your machine in top shape, including how to:
- Upgrade your graphics drivers and even use beta drivers
- Overclock your graphics card (safely!)
- Use our AVG Zen Performance to turn off all performance-sapping background activity
- Defrag your hard disk
- …and more!
As Alien Isoluation takes its toll on your hardware, you got to be sure that it’s tweaked to its absolute limit before you jump into the game-specific settings.
#2 – Enhanced 2k/4k/8k and Level of Detail
Gamers have immediately found a way to increase the visual quality of the game greatly by increasing both the level of detail level beyond what’s possible in the “in game†settings menu as well increase the resolution of the shadows. Now instead of using shadows with a 1k resolution, they managed to crank that up to 2k, 4k or even 8k resolution.
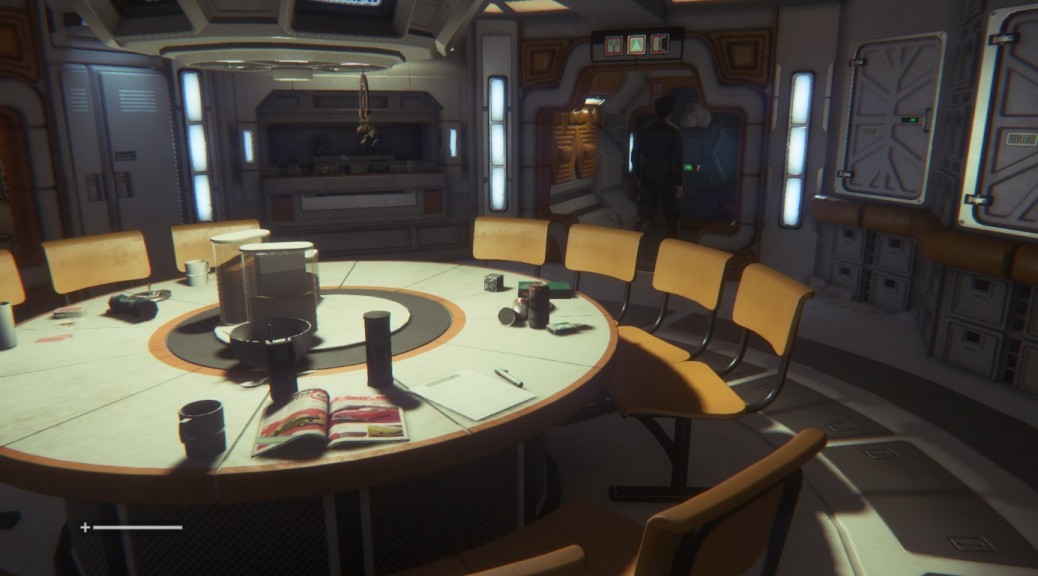
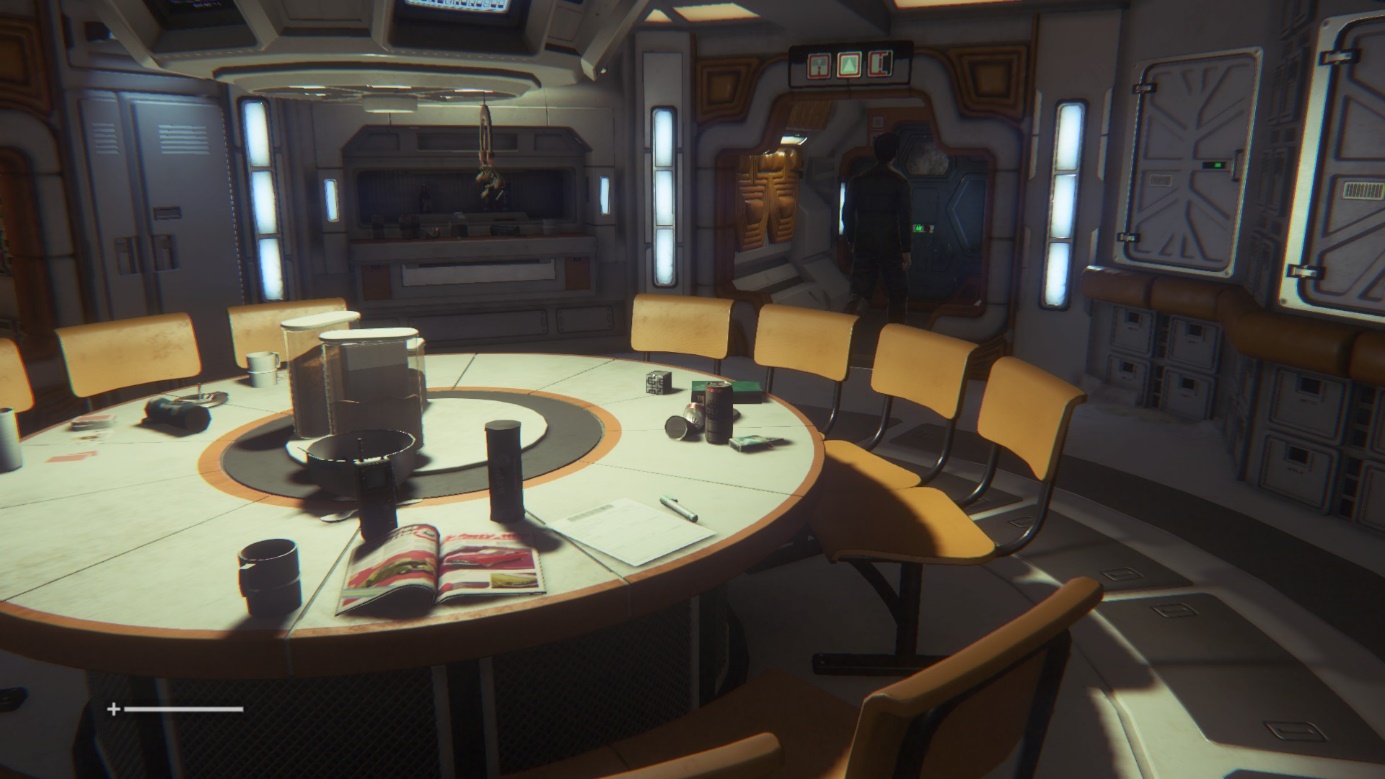
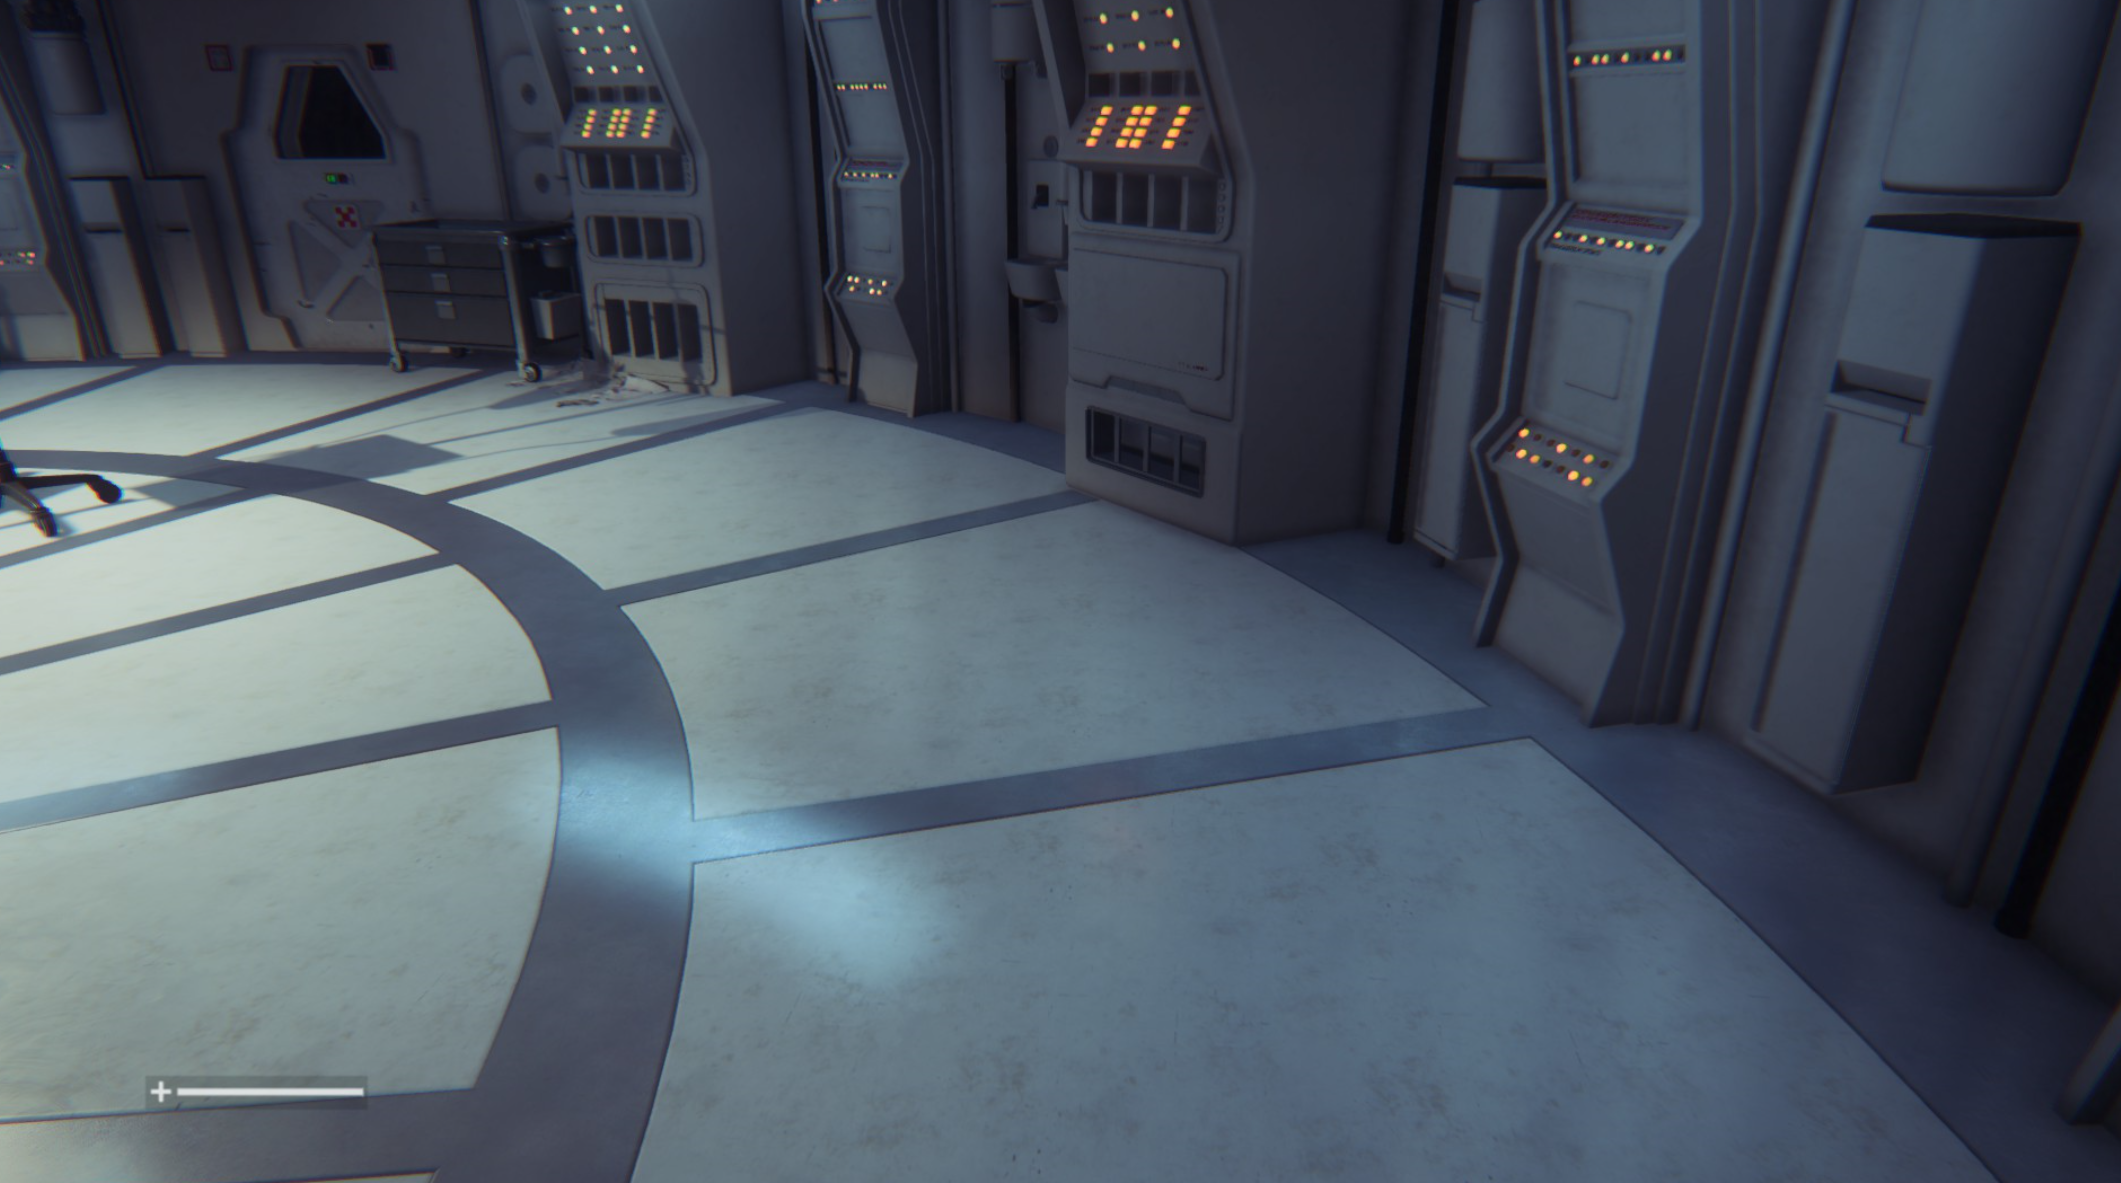
We’ve done the tests and the visuals are noticeably better. Click on the before and after images:
Before:
After:

It’s relatelively easy to see the difference between the shots: the shadows appear much crisper and clearer. However, while it’s easy to see in bright spots, it’s relatively tough to differentiate in other more darker scenes. We noticed a drop of 20% in performance, though that was on a relatively “weak†mobile GeForce 650M. If you feel it’s worth the drop, it should be enabled.
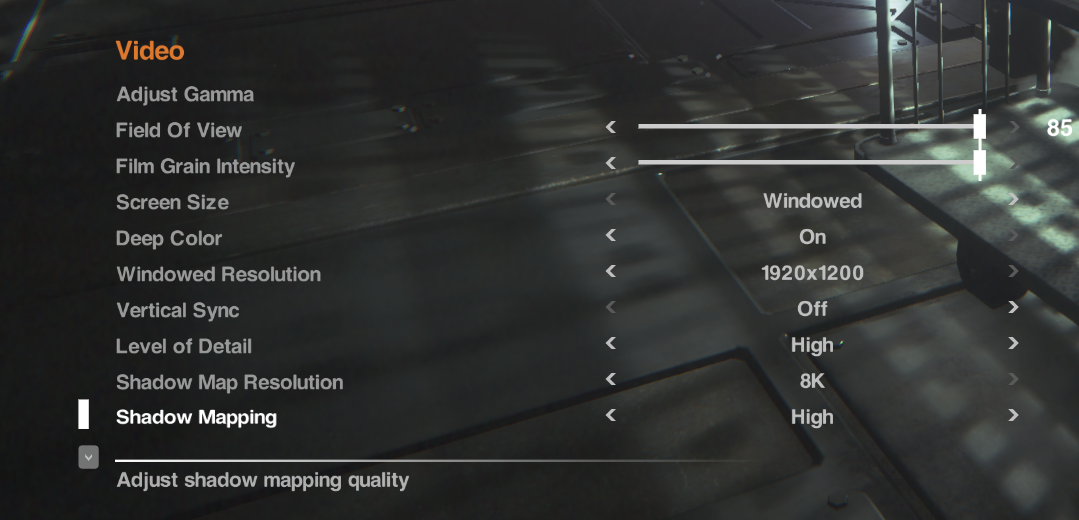
All you have to do is download the tweaked “ENGINE_SETTINGS.XML†from this page. Put the XML file right in your Alien Isolations “Alien IsolationDATA†folder and overwrite the existing file with it. For example, if you purchased the game on steam, the file sits under: C:Program Files (x86)SteamSteamAppscommonAlien IsolationDATA
To enable the setting, launch the game and go to “OptionsVideoâ€. Make sure to set the “Shadow Map Resolution†to “8Kâ€.
Â
#3 – Enhance Reflections
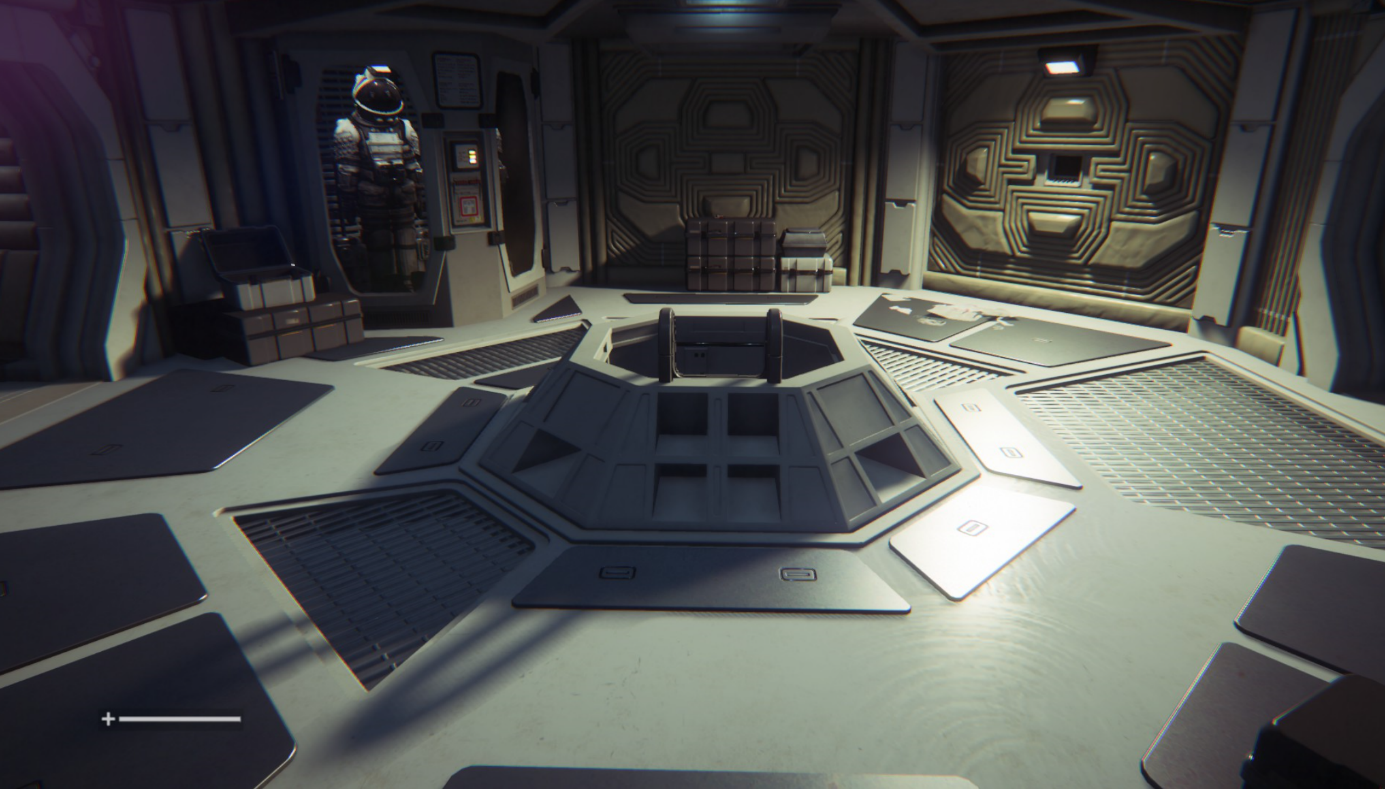
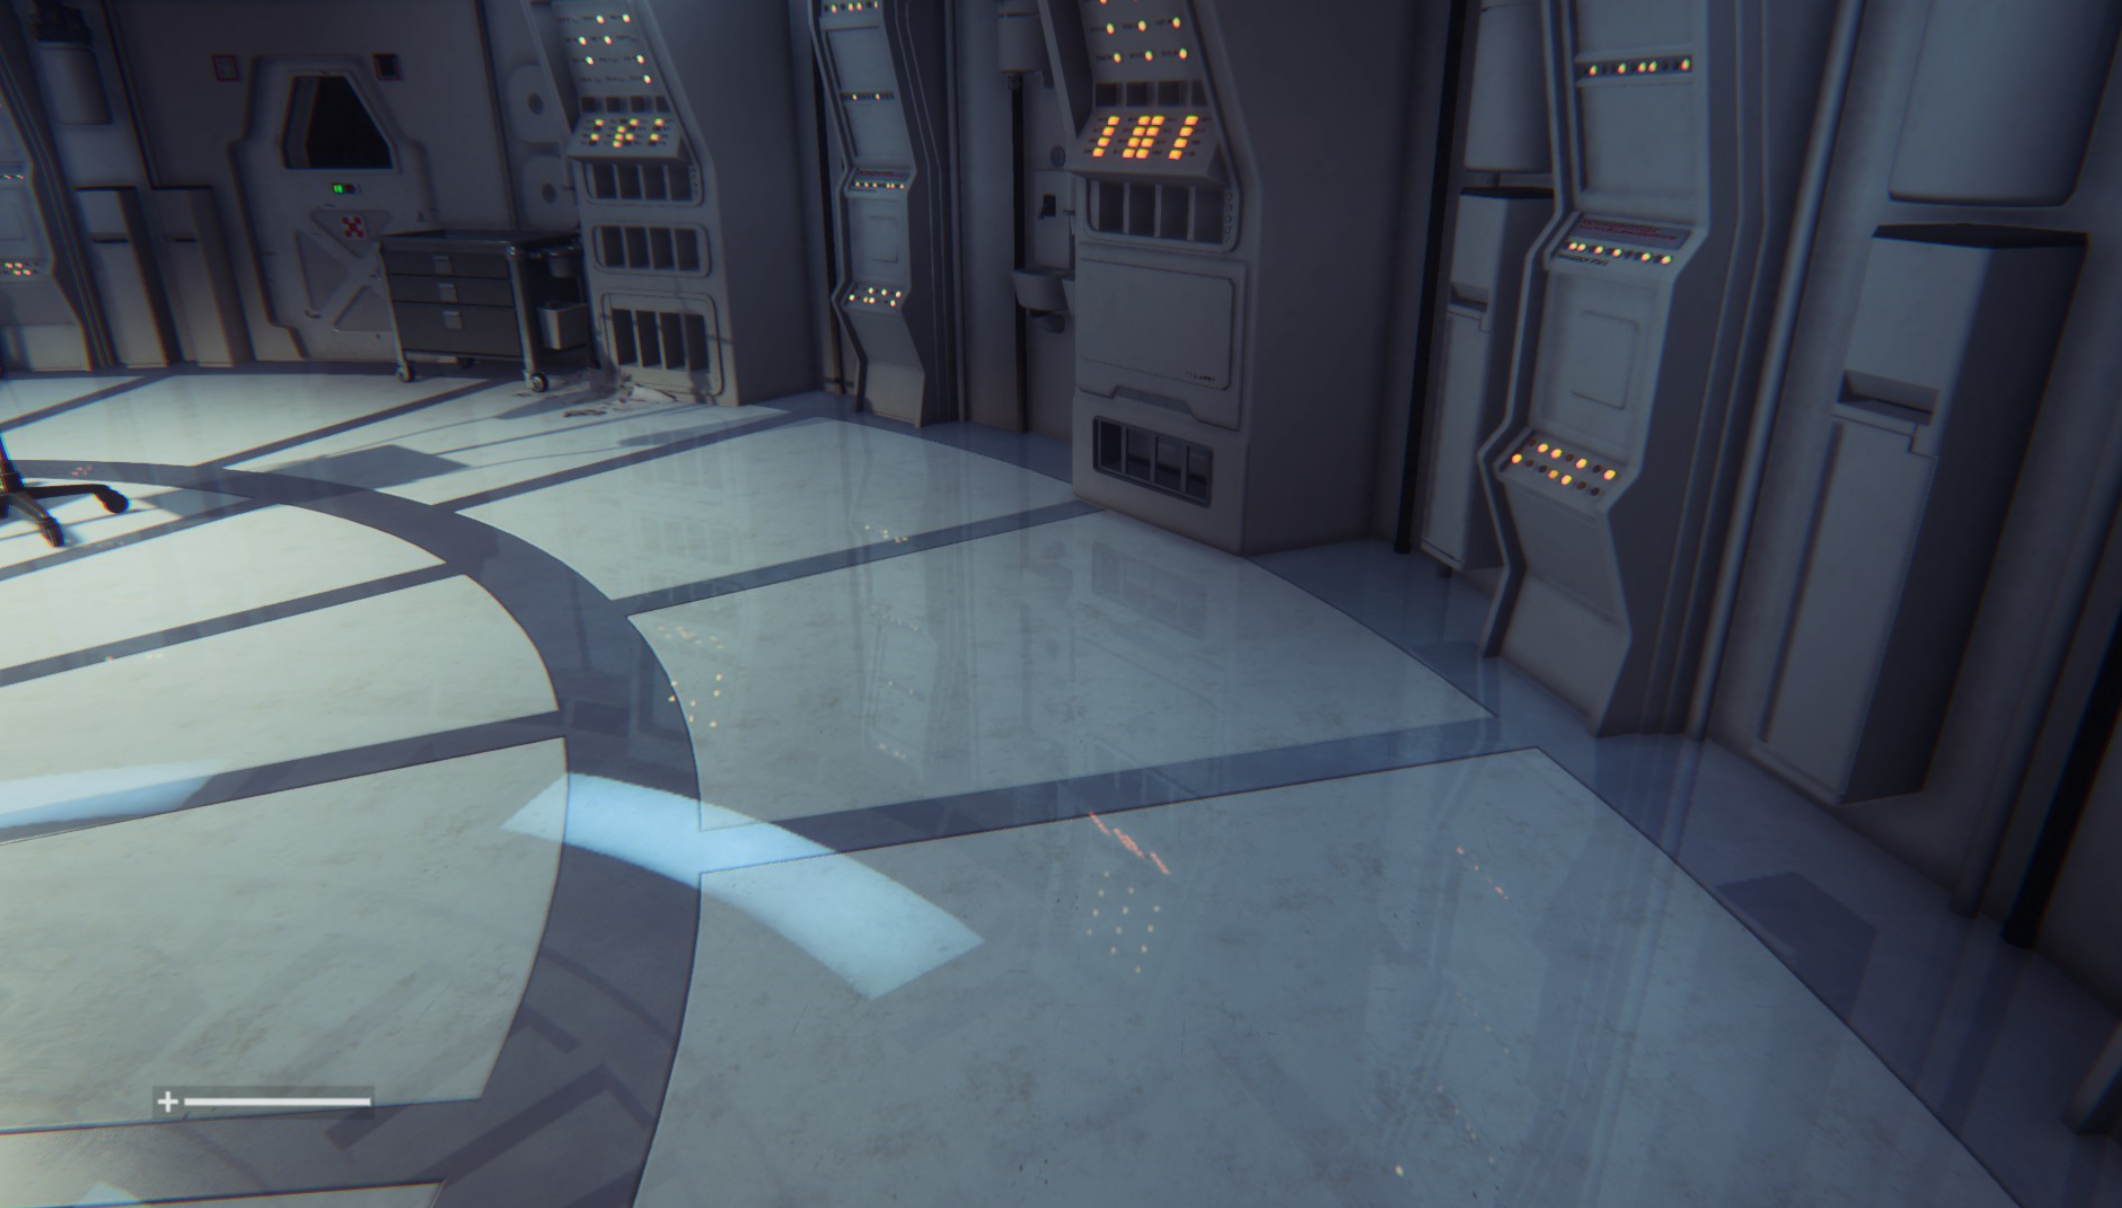
Another great addition that comes with the enhanced engine file (see #2) are enhanced reflections that the developers turned off. Now while these may look significantly “nicerâ€, they also have a shiny look to them which some gamers feel disturb the overall atmosphere of the game:
Before
After
Source: Steam Community
To enable it, you set the “Planar Reflections†to “Alternative†– see how you like it. If you want to go back, you can always set it to “On†(which is the game’s default setting). In my tests I noticed no drop in performance whatsoever with the reflections enabled or disabled.
Â
#4 – Increase the Level of Details for Distant Objects
Some objects tend to pop up out of nowhere. In order to prevent this rather annoying (and tension breaking) effect, you should increase the level of detail for distant objects. This, too, can be done by applying the hacked file (#2) and enabling it under the “Level of Details†– simple go for the “Ultra†setting once you’ve enabled the tweak!
Â
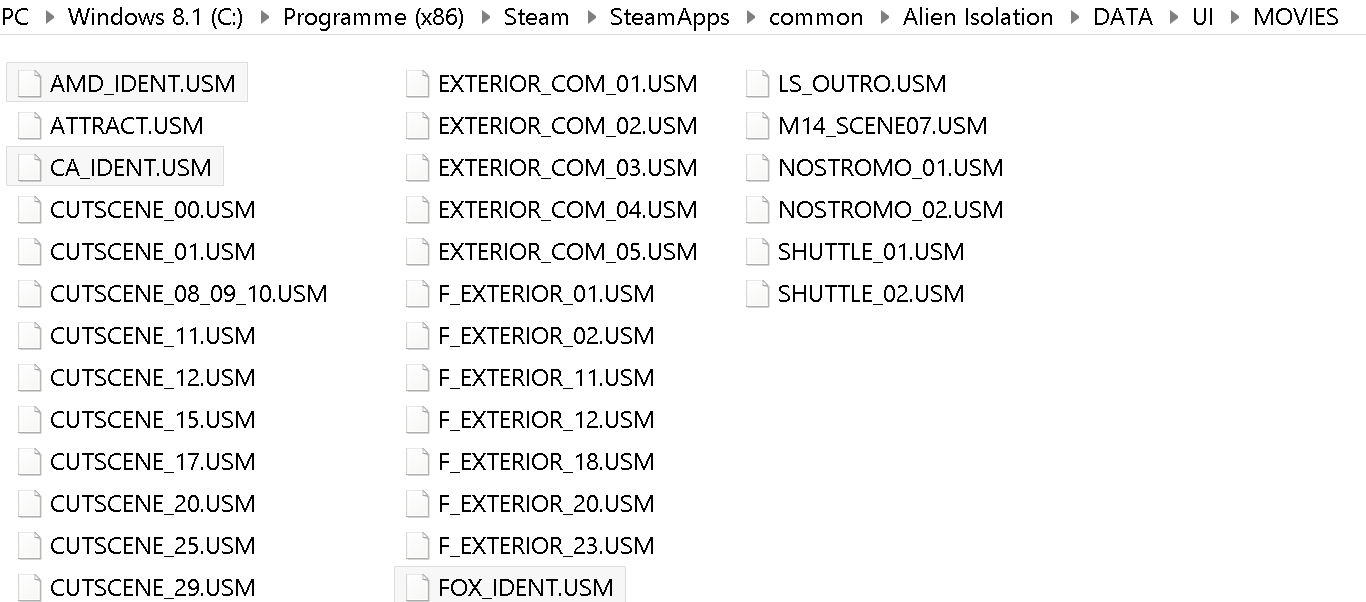
#5 – Skip the Videos
The introduction videos are somewhat annoying and they can’t be skipped at a push of a button. Here’s how to get rid of them. Simple solution: Delete them! Here’s how: Navigate to your Alien Isolations “DATAUIMOVIES†and delete or rename the files “AMD_IDENT.USMâ€, “FOX_IDENT.USM†and “CA_IDENT.USMâ€.
Â
#6 – Get Smoother Mouse Movements
We’ve talked about VSync in the past and it still holds true, especially with Alien Isolation. With the vertical synchronization turned on you may get some delays. That’s why we recommend turning it off either completely using the in-game setting or via the NVIDIA or ATI control panel:
NVIDIA: To get to the NVIDIA Control Panel, right-click on your desktop, select “NVIDIA Control Panel†and head over to the “Manage 3D Settings†category on the left. Go to Maximum Pre-Rendered Frames first: This controls the number of frames that the processor prepares before transferring them to the graphics card. Increasing this value results in smoother game play, but you may notice a lag when using the mouse and keyboard. To eliminate the lag, try the “1″ setting. Next, move over to VSync: It synchronizes the frames that your graphics card renders with the refresh rate of your monitor. If you disable it, you will notice that Alien Isolation may not lag as much or not at all anymore.
ATI/AMD: You’ll find the Wait for Vertical Refresh feature in your 3D settings control panel. Disable Vsync for Alien Isolation and you may find it to run smoother.
Â
Â
#7 – Fix Your SLI RIG (Nvidia)
Got yourself a gaming rig with two (or more) graphics cards? Then you may in for a negative surprise as Alien: Isolation could completely crash on you at any moment or run even slower than with a single GPU. Here’s how to solve the problem: Download nVidia Inspector from this place and run the tool. Go to the SLI Compatibility form and change it to x080912F5. Done.
Â
#8 – Enjoy!
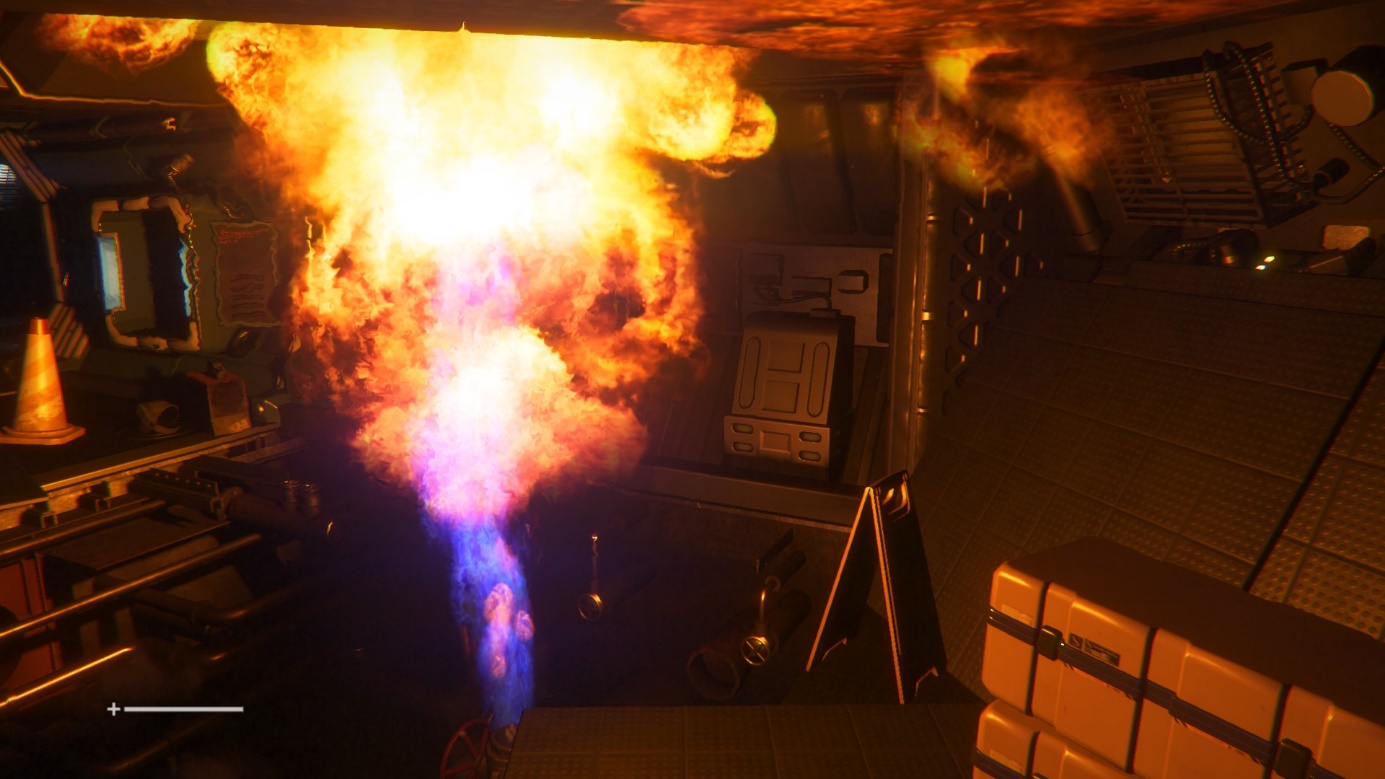
As I’ve been super-busy as of late I couldn’t really play more than a few hours but I can tell you that the enhanced graphics tweaks really made the game more immersive and enjoyable. Now I can’t wait for the weekend to hit so I can crawl under a blanket, light up a candle and get hunted down by an Alien.

![]()
![]()