Well, believe it or not this is not always the case. As even the shiniest of sports cars need to go to a mechanic once in a while, your Mac needs to get a proper cleanup as, over time, its hard-drive can get cluttered.
In this article, we’ll dive deep into the data clutter that even the newest Macs accumulate after only a few days. I’ll talk about how much disk space you can regularly recover and how getting rid of clutter can improve your privacy and boost system reliability.
Let’s give your Mac a proper spring clean – throughout the year!
The daily data-clutter…
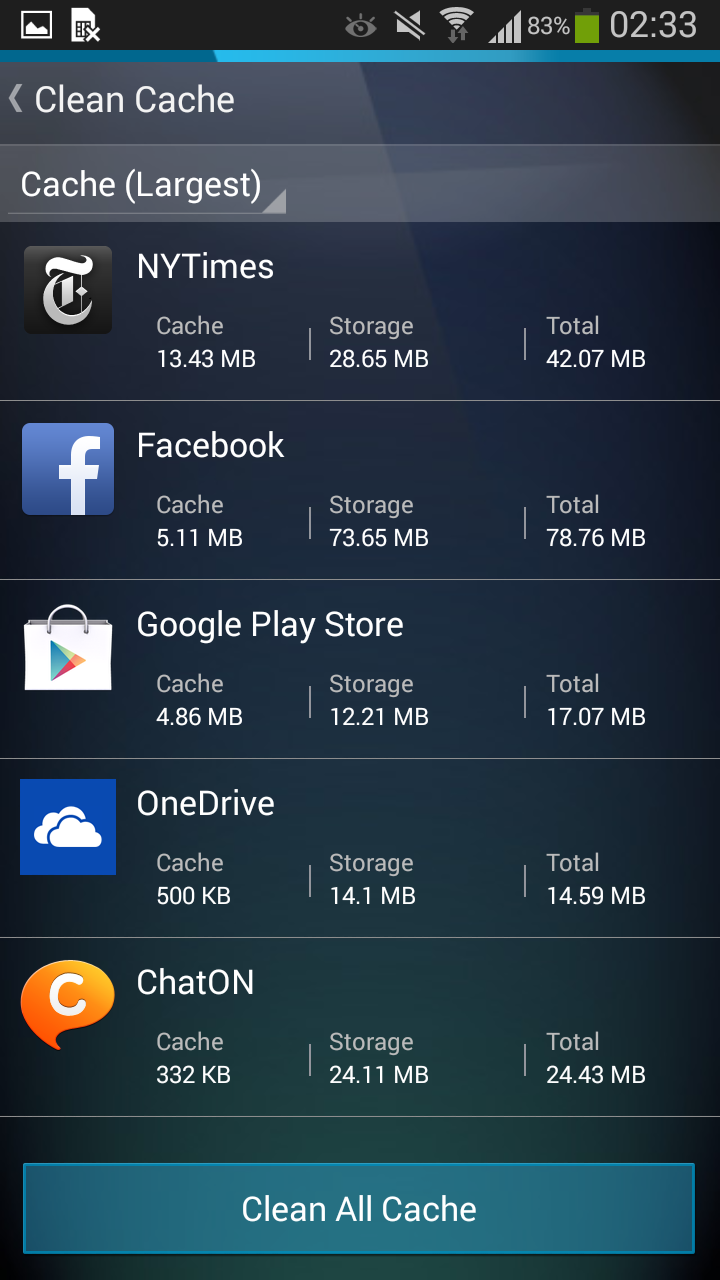
Here’s an unfortunate, little known, but true fact: Almost every time you use your applications, play a game or browse the web, your Mac collects data “junk”. This data is officially known as cache which is the data collected from errors and other system activity in countless log files.
Unfortunately, this data is hidden on your hard disk and can’t be easily deleted.
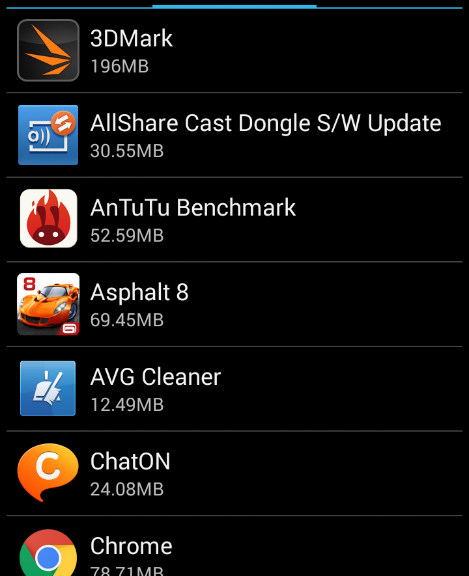
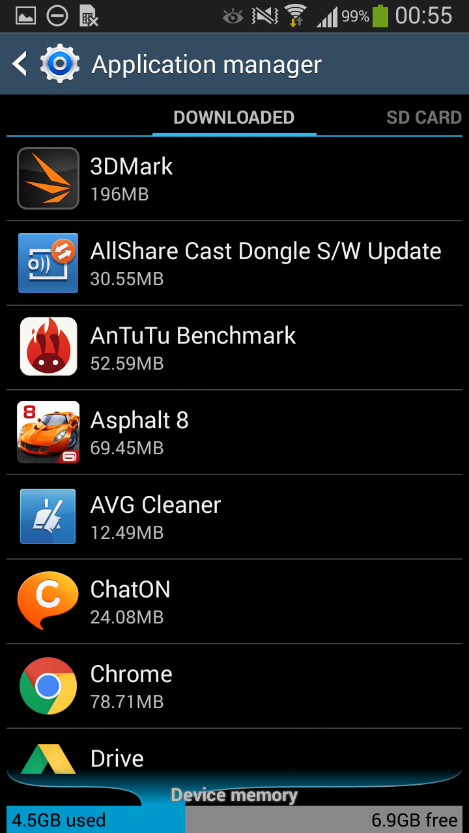
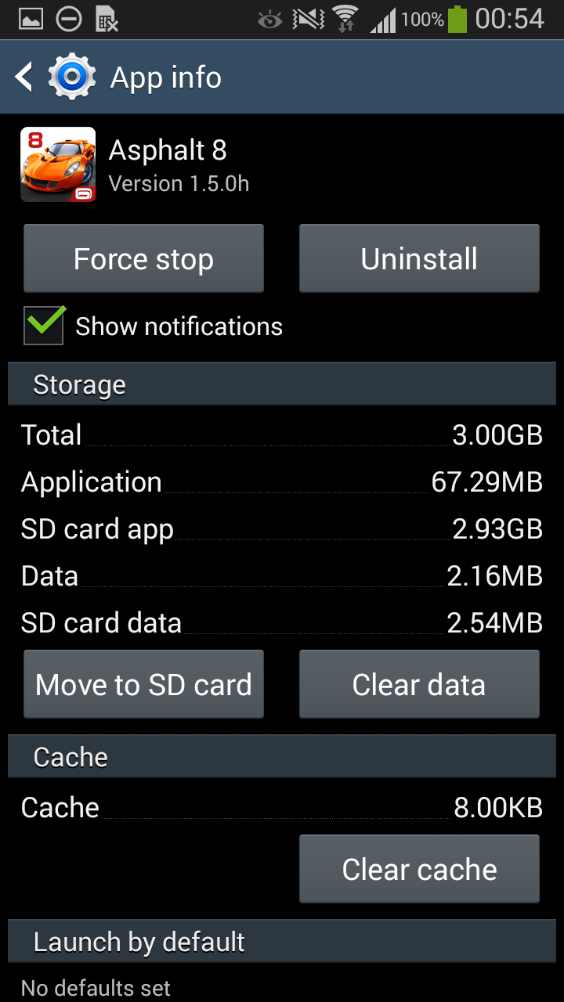
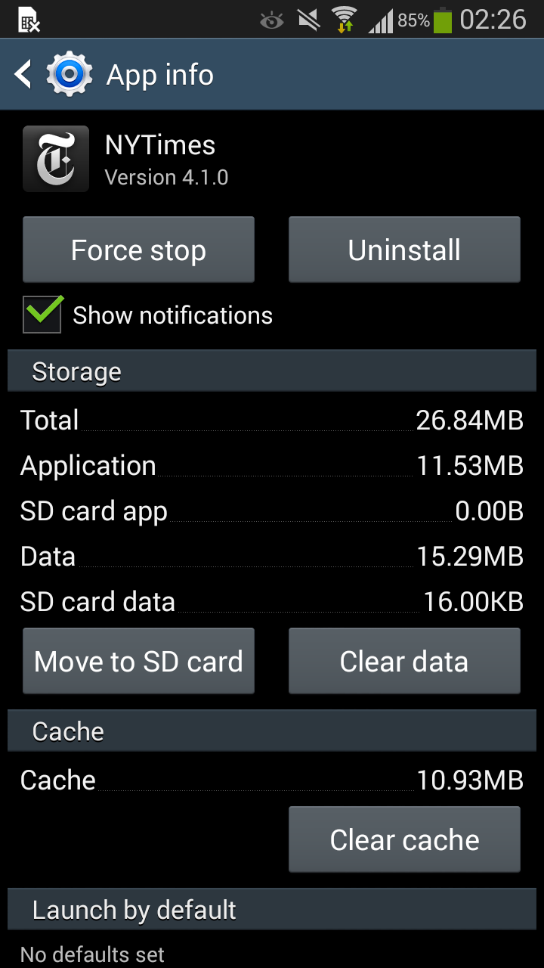
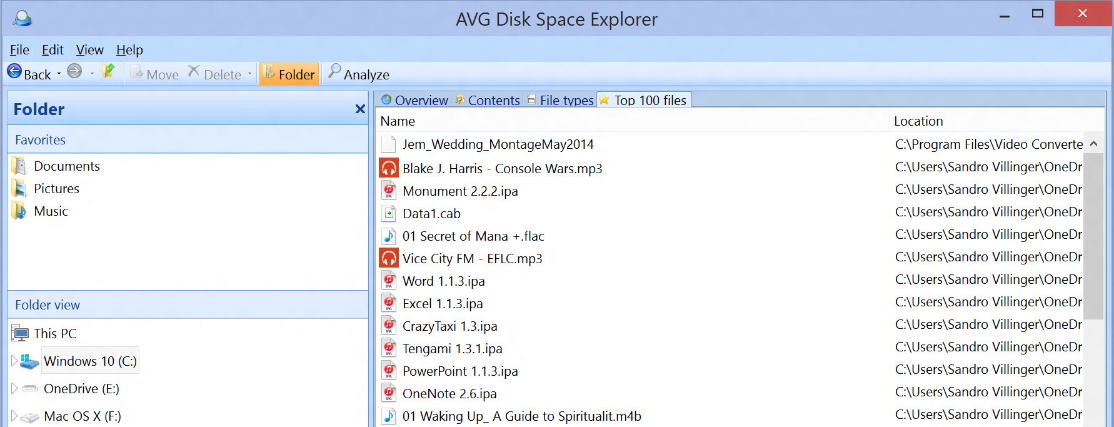
But it’s not just cache that you need to clean regularly. For most people, both the Download folder and the Recycle Bin remain the central store for all downloaded files (dmg images, old PDF files etc.)
This can easily amount to several Gigabytes if forgotten! It’s time to find out all about why your Mac’s disk may be bloated and how you can easily spot files that you didn’t even know were lurking on your hard disk.
A Quick Lab Test
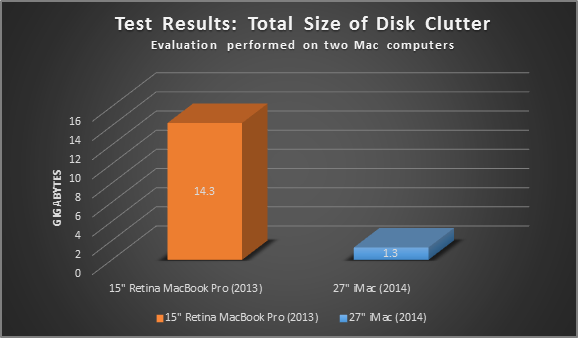
We’ve analyzed the contents of some of our Macs internally with our very own AVG Cleaner for Mac, and found more than 14.3 GB of unnecessary files in various locations on a Retina MacBook Pro that we’ve been using productively for several months. An iMac® 27” which was purchased and used for just a few weeks for basic tasks such as surfing the web and light office tasks showed 1.3 GB of wasteful files.
Digging deeper, we found that a huge chunk of this unnecessary data was located in the Mac OS® “Download” folder – a folder that we rarely cleaned up and that served mainly as a temporary storage for downloaded programs, audiobooks, videos, ISO files, and more.
What’s more interesting than how much disk space I could recover was the sheer number of unnecessary files on those machines:
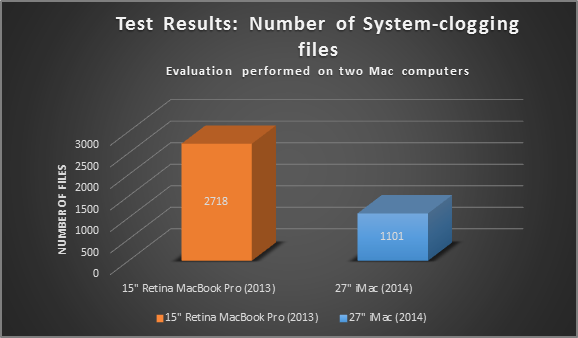
On the newly-bought MacBook Retina, I found 2,718 junk files – most located in the hidden user cache folder. The MacBook Air suffered from more than 1,101 unnecessary files. “So what’s with all that junk?” you might be asking. Basically the three most common trash types include….
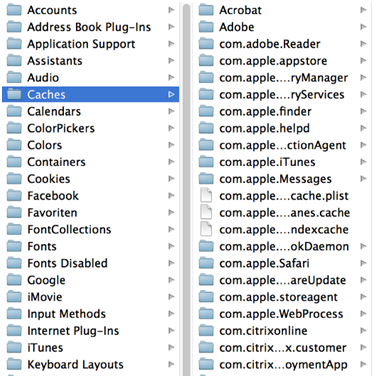
Application Cache
Most applications that you actively use on your Mac create what’s called “cache” and “log” files. Cache files are helpful, as they’re sometimes known to speed up the application launch or boost web-browsing speed (i.e. the Safari® cache).
Unfortunately, a lot of apps don’t clean up their cache files when they’re no longer being used and this is when the cache gets out of control:
Old and corrupt cache files from previous app versions could cause errors when running newer apps.
Cache files could completely grow out of proportion.
Out of date cache files are forgotten on your hard disk and remain there forever, growing and growing….
We’ve dug deep into all the data trash found on these two machines to give you an example of how junk could affect your daily work (or gaming) routine…..
- Uninstall leftovers
- Font lists
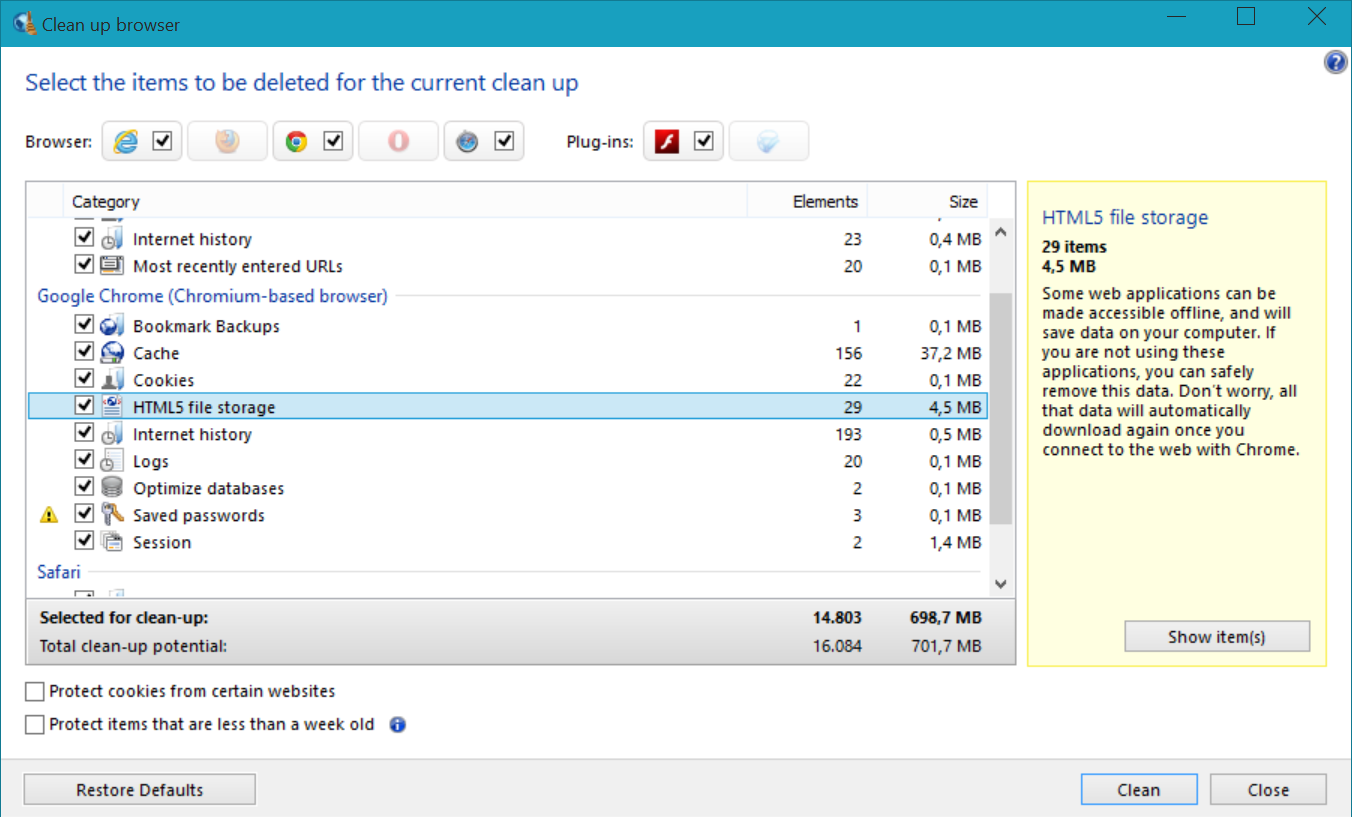
- Browser Cache
- History Lists
- Application images
These are just some selected examples of unnecessary cache files we found on our test machines. It’s wise to flush the cache every now and then (at least once a month) to either prevent problems or solve them effectively – even AppleTMitself recommends flushing the cache once in a while to troubleshoot your Mac. More on that below…
Log files
Next to cache files, Mac OS and a lot of applications tend to create log files. These contain protocols of crashes, when you started an application, when the last update occurred and so on. Most of the log entries have one thing in common, no one except professional developers or trained admins are able to get anything out of it.
- Update logs
- Crash files
- General logs
Unless your IT admin wants to analyze your log files, there’s barely any need to keep them. We’ll show you how to delete them safely…
Download & Trash folder
As I mentioned above, the Download folder can accumulate Gigabytes of unnecessary files. Why? Because it’s your browsers default location for storing files. Even I, who cares a lot about disk space and cleaning up, forget to clean out the Download folder. To a lot of users, the Recycle Bin serves the same purpose….you delete files but just forget to go through it and delete unwanted stuff permanently.
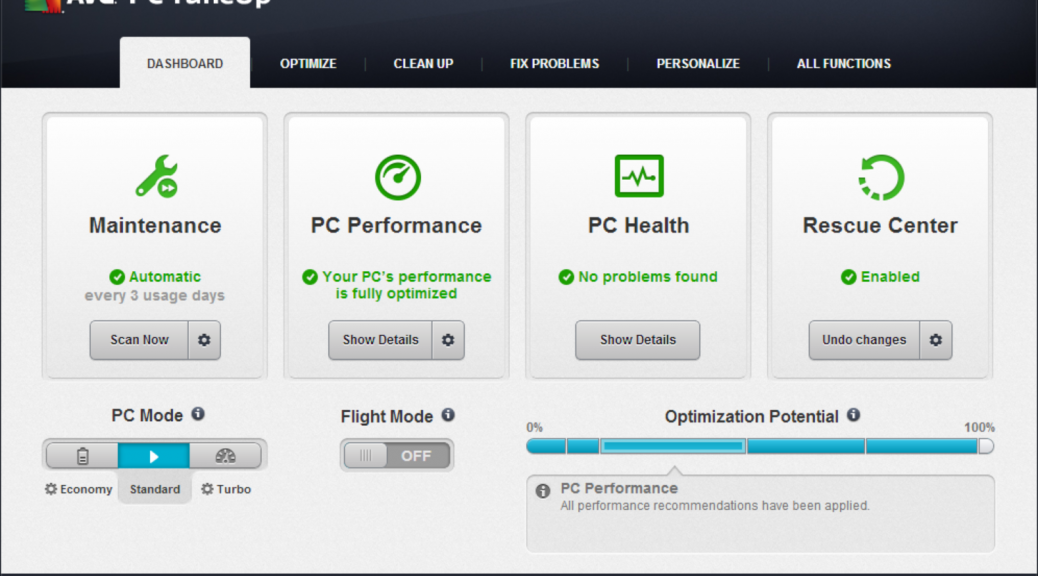
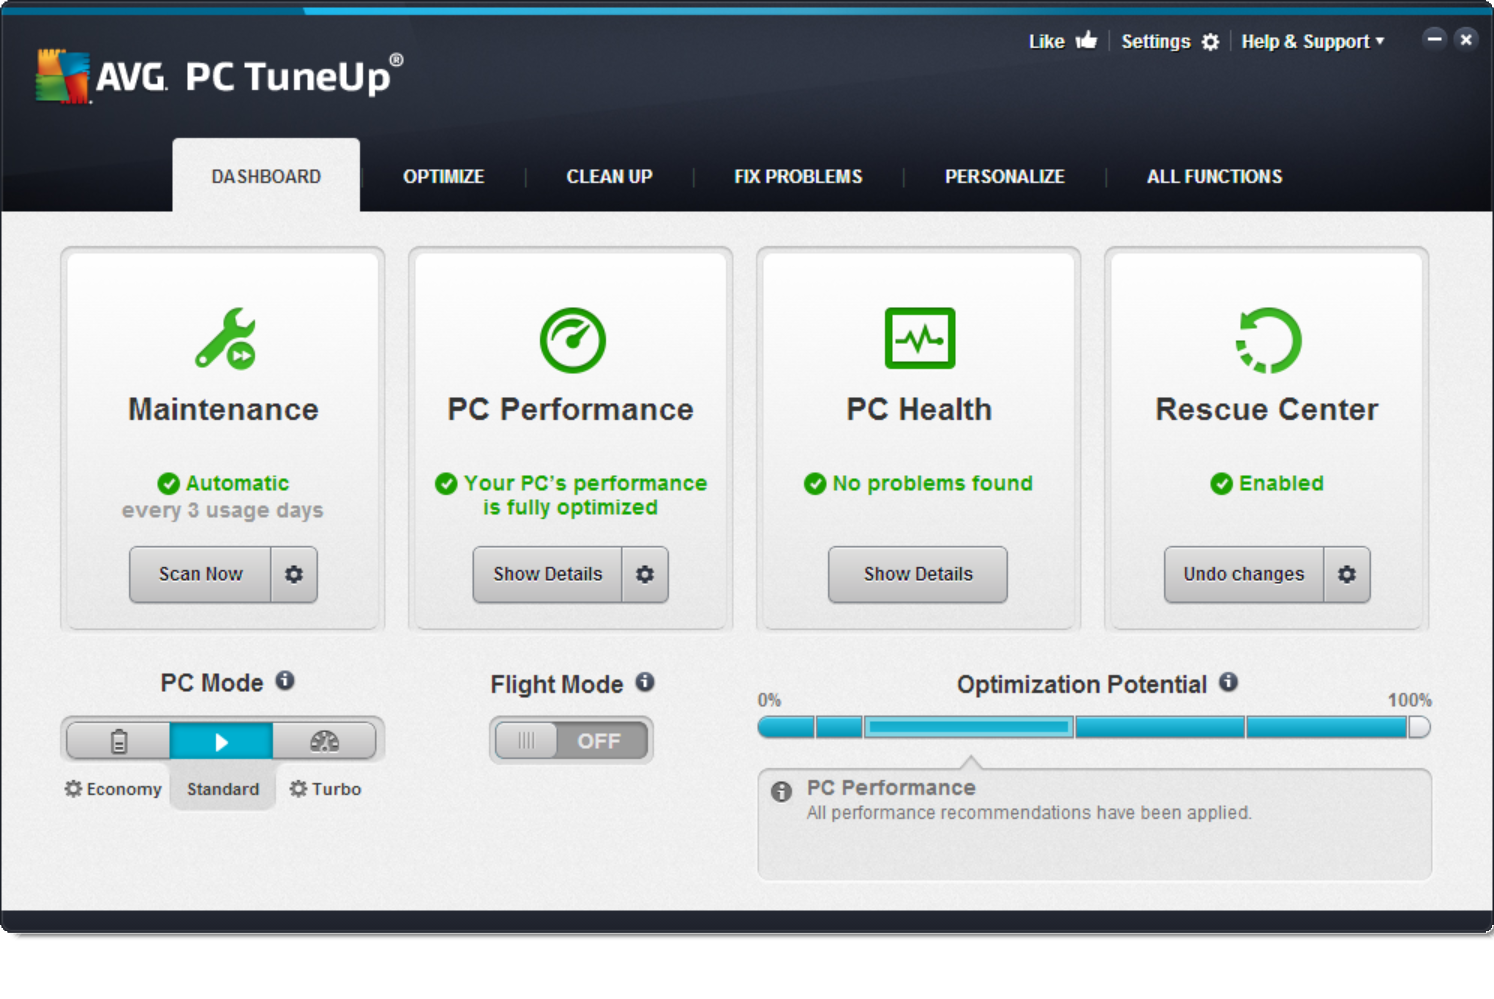
AVG Cleaner for Mac helps you clean up all these unnecessary files in seconds. In the meantime, why not download it and give it a try today, it’s free!